How to use Cloudflare with Sliplane
This guide explains how to connect your domain from Cloudflare to a service running on Sliplane.
Prerequisites
Section titled “Prerequisites”- You must already have a domain added to Cloudflare
- You must have a Sliplane service running
Step 1: Add Your Domain in Sliplane
Section titled “Step 1: Add Your Domain in Sliplane”-
Go to your service dashboard in Sliplane.
-
Click the Domains tab.

-
Click Add Domain.
-
Enter your full domain (e.g.
example.comorapp.example.com) and click Add. -
Sliplane will show you the required DNS record:
- Prefer CNAME: Use CNAME if possible, because it automatically tracks Sliplane IP changes.

Step 2: Add DNS Record in Cloudflare
Section titled “Step 2: Add DNS Record in Cloudflare”- Log in to Cloudflare Dashboard.
- Select your domain.
- Go to the DNS tab.
- Click Add Record:
- Type: CNAME
- Name:
@for root or your subdomain (e.g.app) - Target: Use the CNAME value from Sliplane
- Set Proxy status to DNS only (not proxied).
→ ⚠️ Disable the orange cloud icon at first.
Step 3: Wait for Domain Verification
Section titled “Step 3: Wait for Domain Verification”- Sliplane will verify the domain within ~15 minutes.
- Once verified, you can enable the Cloudflare proxy by toggling the orange cloud back on.
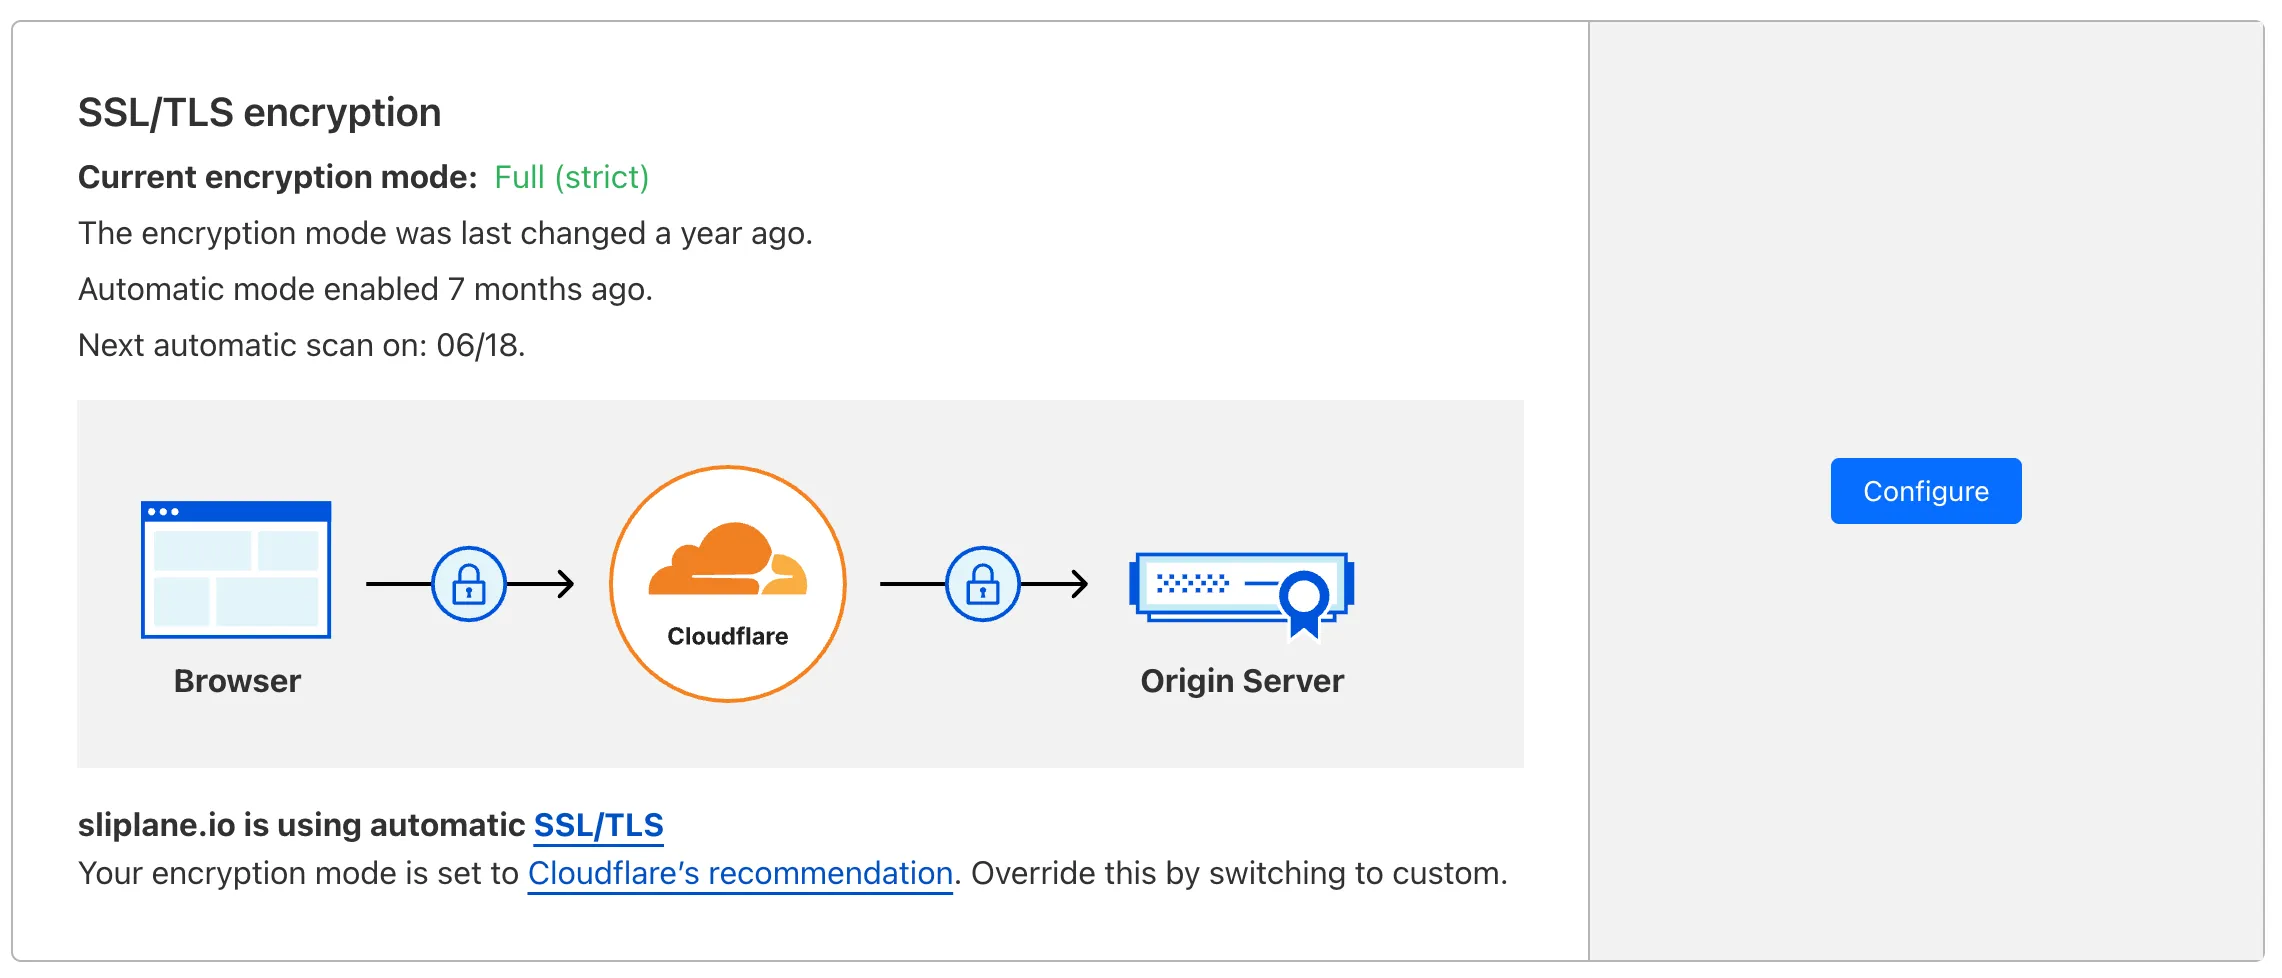
Step 4: Enable Full Strict SSL
Section titled “Step 4: Enable Full Strict SSL”- In Cloudflare, go to your domain.
- Click SSL/TLS in the left menu.
- Set the SSL mode to Full (Strict).
This ensures encrypted connections both:
- Between browser and Cloudflare
- Between Cloudflare and Sliplane
Optional: Geo-blocking Exception
Section titled “Optional: Geo-blocking Exception”If you’re using geo-blocking or other firewall features:
- Exclude the route
https://{your-domain}/.well-known/acme-challenge/**123**
→ This route is used for SSL certificate renewals. Blocking it will cause renewals to fail.
Your Sliplane service should now be accessible via your Cloudflare-managed domain, with secure HTTPS and CDN-level features.