Twingate
Twingate is a zero-trust network access solution. Once configured, you can access your private Sliplane services using their internal hostnames from any device connected to your Twingate network.
Prerequisites
Section titled “Prerequisites”- A Twingate account
- A Sliplane server with private services you want to access
Step 1: Add a Resource
Section titled “Step 1: Add a Resource”- Log in to your Twingate admin console
- Add a new Resource
- Set the address to
*.internal
This allows Twingate to route traffic to all your private Sliplane services.
Step 2: Deploy the Connector on Sliplane
Section titled “Step 2: Deploy the Connector on Sliplane”- In the Twingate dashboard, go to Deploy another Connector
- Select Docker
- Keep the default settings
- Copy the generated Docker command
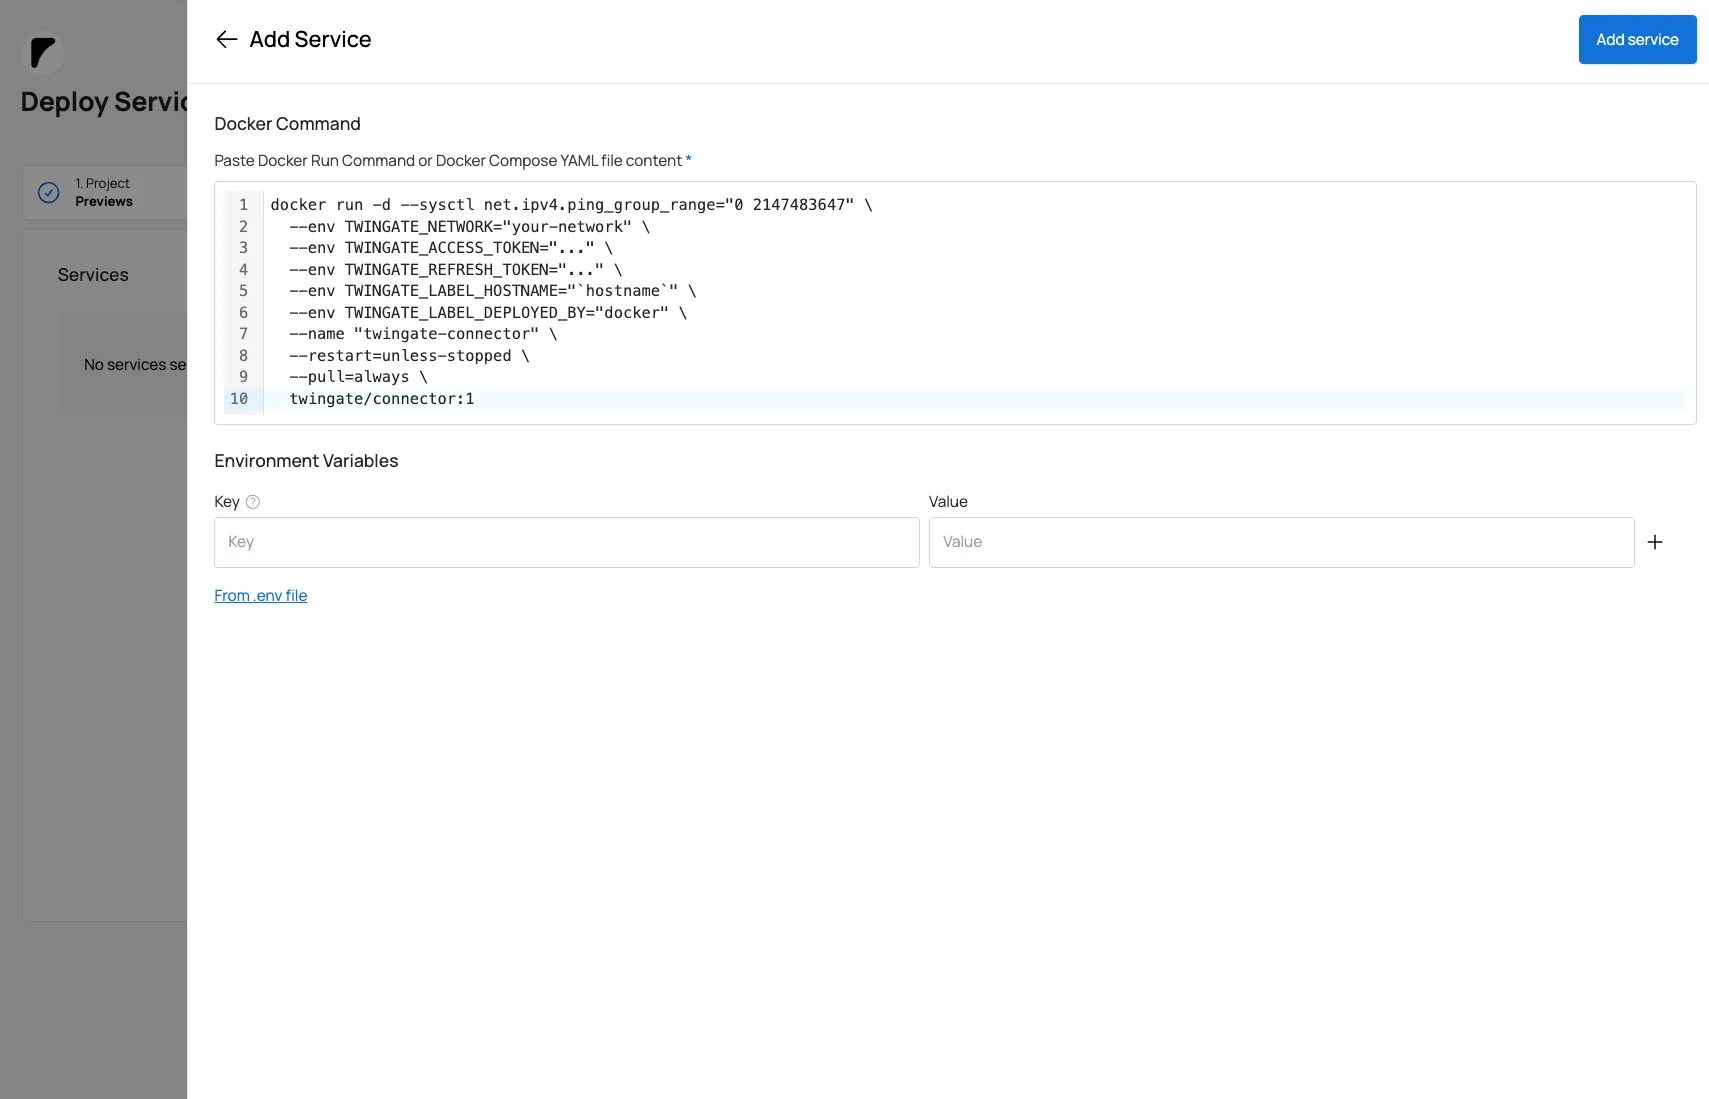
You’ll get a command like this:
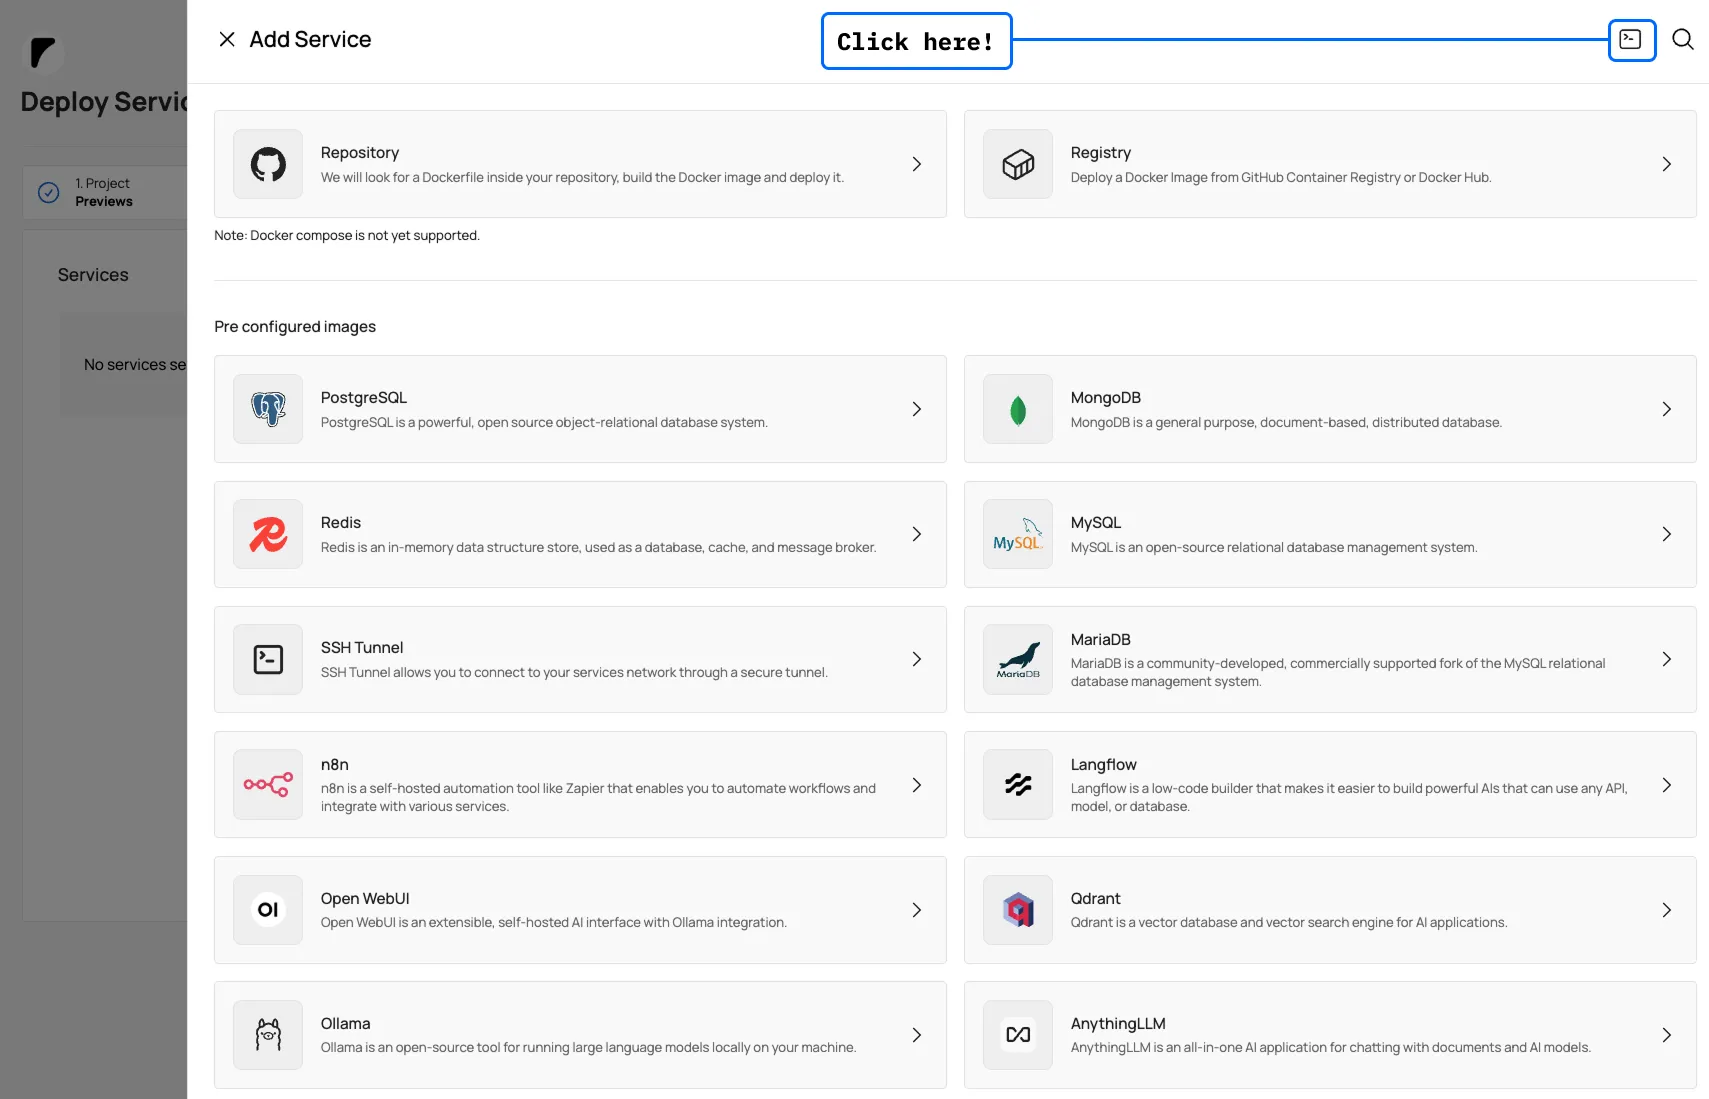
docker run -d --sysctl net.ipv4.ping_group_range="0 2147483647" \ --env TWINGATE_NETWORK="your-network" \ --env TWINGATE_ACCESS_TOKEN="..." \ --env TWINGATE_REFRESH_TOKEN="..." \ --env TWINGATE_LABEL_HOSTNAME="hostname" \ --env TWINGATE_LABEL_DEPLOYED_BY="docker" \ --name "twingate-connector" \ --restart=unless-stopped \ --pull=always \ twingate/connector:1In Sliplane, you can paste this command directly when creating a new service — Sliplane will parse it and configure the service automatically.
| Setting | Value |
|---|---|
| Image | twingate/connector:1 |
| Network | Private (no public access) |
Step 3: Connect Your Local Device
Section titled “Step 3: Connect Your Local Device”- Install the Twingate client on your local machine
- Log in to your Twingate network
Step 4: Access Your Private Services
Section titled “Step 4: Access Your Private Services”Once connected, you can access any private service using its internal hostname:
curl http://my-service.internalThe traffic goes through the encrypted Twingate tunnel, and your services remain inaccessible from the public internet.
Troubleshooting
Section titled “Troubleshooting”Service not reachable:
- Ensure the Twingate connector is running on Sliplane
- Check that your local device is connected to Twingate
- Verify the
*.internalresource is configured in Twingate
Connector not connecting:
- Verify your access and refresh tokens are correct
- Check the service logs in Sliplane